
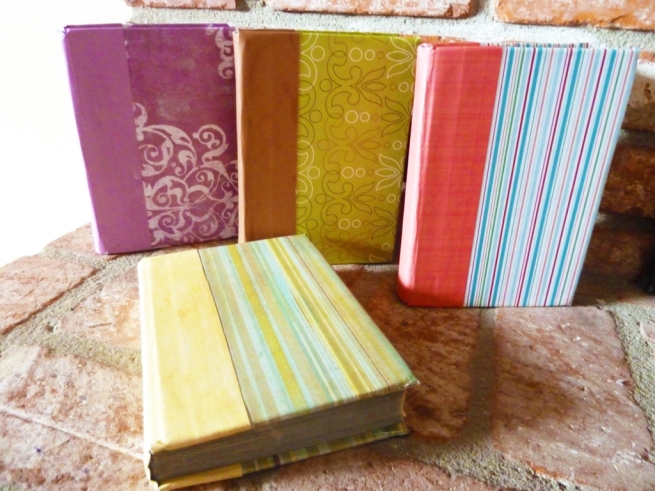
Remember these covers I made for our hymn books? Read the old post.
I promised to make a tutorial of how to make the book covers, so here it is, in quick simplified steps.
Hope you find it useful and fun, share it and please link back here. Thanks!

First off, gather your materials:
1. Your book
2. Wide sheets of colorful craft paper (1 for front/back cover, 1 for the spine)
My paper measured approx. 12 x 12.
3. Scissors
4. Mod Podge
5. Ruler
6. Pencil/Pen
7. Wet sponge or napkin to wipe off excess mod podge

Step 2: measure out the width of the front cover. I left about 1/2 inch. extra to fold around the cover.

Step 3: Measure the length. I left 1 1/2 inch extra to fold inside.

Step 4: Use a pencil to mark the measurements and then cut out the paper.

Step 5: Place your paper over the front cover just to see how it looks and get an idea of how you’ll “glue” it

Step 6: Repeat steps 2-4 for the back paper that will go on the back cover. You will have two cover papers like this.

Step 7: Apply Mod Podge with a brush on the front cover and backside of your paper

Step 8: Place firmly on the cover, and make sure you leave the extra 1/2 inches on the margins to fold in later. Then use the ruler to apply pressure and smooth out the paper so it sticks to the cover.

Step 9: You may want to do some cutting so you can fold in the paper easily, like I did in the photo. Or if you have a better method go for it! I can hear some of you saying “Hey! The inside of my book will look all ugly and patchy with the paper you fold in.” I know. If you’re picky, just glue another colorful paper on the inside to hide the “seams”. 🙂

Step 10: Do the same “mod podge'” process for the back of the cover, and you will be nearly done.
Your book will look like this.

Step 11: Get your second matching paper for the spine. Measure and cut it to the width you prefer.

Step 12: Fold it across the spine and “mold” it a bit.

Step 13: Make two incisions/cuts at both ends, so you can fold in the paper when you glue it.

Step 14: Apply mod podge on the spine of your book, and the spine of your cover paper.

Step 15: Place spine of your book on top of the “spine” of your paper,
and then apply mod podge on the flaps that will and overlap the front and back covers.

Step 16: Use ruler to smooth the flaps on the covers and bend in the cut portions like the picture shows.
You can cut the remaining strips that come out from the spine, or fold them in also.

And finally, your book is done!
That is such a neat idea! I’ll definitely have to try it some time! They would make a really fun journal or notebook cover too 🙂
Gee… those hymnals look FAMILIAR!!!!!!!!!!!!!! lol =D
That is so creative! I should try that at home, I have quite a few good books that are worn from being read so many times! 🙂 Thanks for sharing!!!